
Gunung Yong Belar: A Hiker's Guide (2026)
Gunung Yong Belar sits on the Perak-Kelantan border and holds the title of third highest peak in Peninsular Malaysia at 2,181 m. That alone draws a certain type of hiker — the ones quietly ticking off the big names. But Yong Belar isn't just a trophy peak. It's a proper jungle slog through multiple forest zones, mossy ridges, and a summit that — on a clear day — opens up to views of Gunung Korbu, Gunung Gayong, and a sea of green stretching as far as you can see.

This is a Hard to Very Hard hike. Most people do it over two days and one night, and honestly that's the right call — dayhiking is possible but the cut-off times are brutal and the distance punishing. If you're an intermediate hiker thinking of "giving it a go," please read this guide fully before deciding. Yong Belar demands advanced fitness, endurance, and the ability to handle technical climbs and crawls on slippery, rooted terrain.
That said, it rewards those who put in the work. The mossy forest above Kem Tudung Periuk feels like another world, the campsites each have their own character, and the summit — when the clouds cooperate — is genuinely breathtaking.
Quick Facts
- Elevation: 2,181 m (7,156 ft)
- Elevation Gain: 1,000–1,098 m
- Distance: ~20–21 km return (10.5 km one way); some sources cite 13.8–17 km depending on route variant
- Duration: Dayhike 10–14 hours total (5–6 hours up, 4–5 hours down). Most hikers complete as 2 days, 1 night.
- Difficulty: Hard to Very Hard
- Permit: Yes — required in advance
- Guide: Conflicting info — one source says mandatory, others say recommended. Confirm with permit issuer.
- Trailhead: Masjid Lojing, Lojing (modern route)
- Parking: RM10 per vehicle at Masjid Lojing
Getting There & Parking
The modern route starts from Masjid Lojing in Lojing, right on the Perak-Kelantan border. You'll park here — RM10 per vehicle — and the mosque has ample space. Park to the side, not in front of the mosque. If that's full, SMK Kampung Raja is an alternative (also RM10, guarded).
Here's the catch: the actual trailhead isn't at the mosque. From either the Guandi Miao temple or the mosque in Lojing, you need to arrange a 4WD to take you to the start — about 40 minutes through private land and farm roads. As of 2019 pricing, that was around RM36 per person return. Don't expect to walk in. The road access is rough and vehicle-only — sort your 4WD arrangement before the trip, not on the morning.

If you're coming from Ipoh or KL, Lojing is most easily reached via the Simpang Pulai-Lojing Highway through Cameron Highlands. Factor in the mountain roads — it takes longer than Google Maps suggests.
Permits & Fees
A permit is required and must be arranged in advance. Yong Belar sits on the Perak-Kelantan border which creates some confusion — sources point to both the Jabatan Perhutanan Negeri Pahang and the Cameron Highlands District Forestry Office (+605 491 1384). You can also register and pay for an e-Permit online through the Forestry Department of Malaysia's official website.
As for permit fees, I don't have a confirmed figure — don't assume it's free or cheap. Contact the forestry office directly to confirm the current rate and whether a licensed guide is mandatory for your trip (this is genuinely conflicted in available information).
Trail conditions and permit requirements change — always check with the local forestry office or park authority before you go. Or ask the TAHAN Hiking Community on WhatsApp — someone's usually been there that week. Checking a different gunung? Try our free permit checker — instant answer for 90+ Malaysian mountains.
The Trail: What to Expect
The route is well-marked once you're inside the forest — but finding the entrance from the 4WD drop-off can be confusing on your first time. Listen to your driver, and if you have a guide, follow their lead. From the trailhead, here's how the route breaks down.
Staircase to State Border Stone (about 45 minutes)
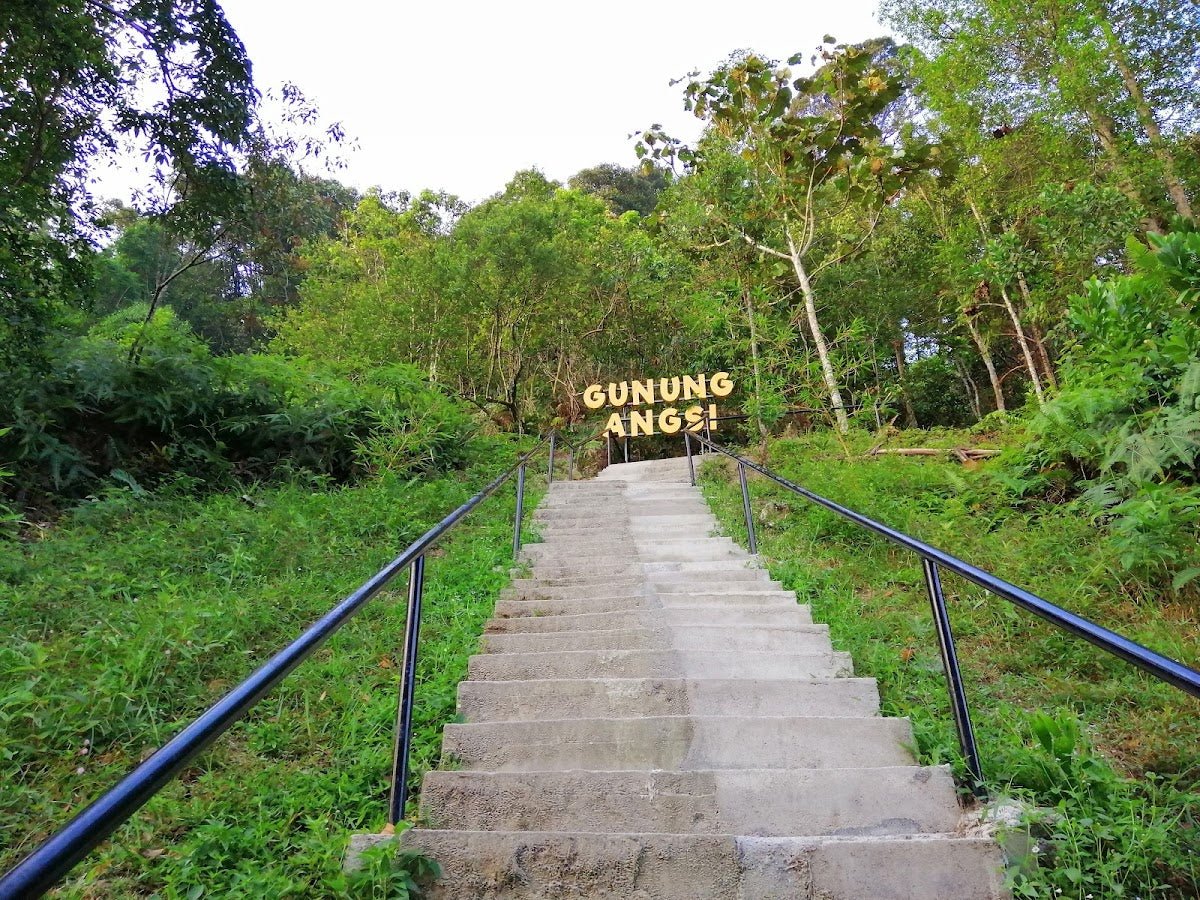
You start with a staircase section — roughly 10 minutes — that eases you in before hitting the State Border Stone at around the 35-minute mark. This early section is relatively forgiving. Use it to settle your pace and breathing, not to rush ahead.

Stream Crossing, Hut & Pintu Rimba (another 10 minutes)
A stream crossing and basic hut come up about 2 minutes after the Border Stone. Shortly after — 8 more minutes — you hit Pintu Rimba, the official forest entrance. This is your last open-air checkpoint before the jungle closes in. Take stock of your water, adjust your pack, and go.
The False Peaks (10–35 minute intervals)
This is where Yong Belar earns its reputation. Four false peaks come in sequence — the intervals between them range from 10 to 35 minutes — and the undulating ridge causes serious cumulative fatigue. You think you're close, then the trail drops again. Then climbs again. Then drops. Mentally, this section breaks people who don't pace themselves. Physically, the terrain is rooted, boggy in places, and slippery. Take your time.
Kem Tudung Periuk (approximately 3 hours from Pintu Rimba; 1,660 m)
Kem Tudung Periuk is the main campsite for overnight hikers at 1,660 m elevation. It's a solid spot to overnight — distinctive character, decent shelter. Like many popular trailside camps, it suffers from litter left behind by previous groups. Don't add to the problem; pack out what you bring in.
Just beyond the camp is a stream — this is your primary water source on the mountain. Fill up here. A secondary source exists near Kem Kasut but the quality is lower. A 2L hydration bladder is the recommended minimum; the TAHAN TrailBladder 2L handles this well and sits cleanly in most packs.

Mossy Area to Clear Open Space (about 90 minutes from Kem Tudung Periuk)
Above Kem Tudung Periuk, the forest shifts dramatically. You enter a proper mossy zone — this is the highlight of the mid-section for a lot of hikers, and rightly so. Everything is draped in green, the air is noticeably cooler and damper. Give yourself a moment to appreciate it; you'll be working hard through here.
About 50 minutes into this section, the mossy forest gives way to a clear open space — a brief but welcome change before the next push.
False Peak to Kem Kasut (50 minutes; 1,950 m)
Another false peak — 10 minutes from the clearing — before you drop into Kem Kasut at 1,950 m, about 40 minutes further. Kem Kasut is the last camp before the summit and has a known problem in wet weather: the camping area doesn't drain well. If it's been raining, expect to be pitching on awkward slopes. If you're dayhiking, the cut-off here is 11:15 am — if you haven't made it by then, turn back. This is not a suggestion.

Summit — 60 minutes from Kem Kasut
The final hour to the summit is the most exposed section. You'll notice the vegetation changing to ericaceous forest, the wind picks up, and temperatures drop. The summit cut-off for dayhikers is noon. On a clear day, the views from the top — Gunung Korbu, Gunung Gayong, and the full spread of Titiwangsa forest — make everything worthwhile. On a cloudy day, you'll see white. That's the mountain. Bring warm layers regardless.

Descent & Safety
Budget 4–5 hours for the descent. The same terrain that made the climb difficult — roots, boggy sections, stream crossings — is worse going down on tired legs. Pace yourself. The stream crossing section deserves special mention: finding the correct path across can genuinely cost you hours if you miss it. Stick to marked paths or follow someone who's done it before.
A word on trekking poles: the trail is covered in abandoned poles, which tells you something. The rooted, technical terrain makes standard poles more hindrance than help. If you do want knee support on the descent — and at 2,181 m of mountain, your knees will appreciate it — the TAHAN Kinetix Knee Guard With Spring Support is a better option, keeping your hands free for the climbs and crawls.
Key hazards to know:
- Muddy, boggy conditions throughout — especially after rain
- Rooted terrain; constant technical footing required
- Undulating ridge causes accumulated fatigue — more than most hikers expect
- Stream crossings; wrong path can add hours
- Cold temperatures at altitude: 10–15°C; rain frequent at higher elevations
- Cold, windy summit — bring a proper windproof layer
- Summit also exposes you to direct sun, bees, and butterflies (yes, bees)
- Strict dayhike cut-offs: 11:15 am at Kem Kasut, noon at summit
If the weather turns bad — heavy rain, mist that closes in fast, lightning — turn back without argument. The descent in dry conditions is already demanding. In a storm, it becomes genuinely dangerous. No summit view is worth the risk.
What to Bring
Yong Belar is a technical, high-altitude jungle hike with cold nights (if you're camping) and unpredictable summit weather. Pack accordingly:
- Hydration: Minimum 2L water capacity; stream water should be filtered or treated
- Layers: Windproof and waterproof jacket is non-negotiable above Kem Tudung Periuk. Temperatures drop to 10–15°C at altitude.
- Footwear: Proper trail shoes with aggressive grip — this trail is not for road runners or casual sneakers
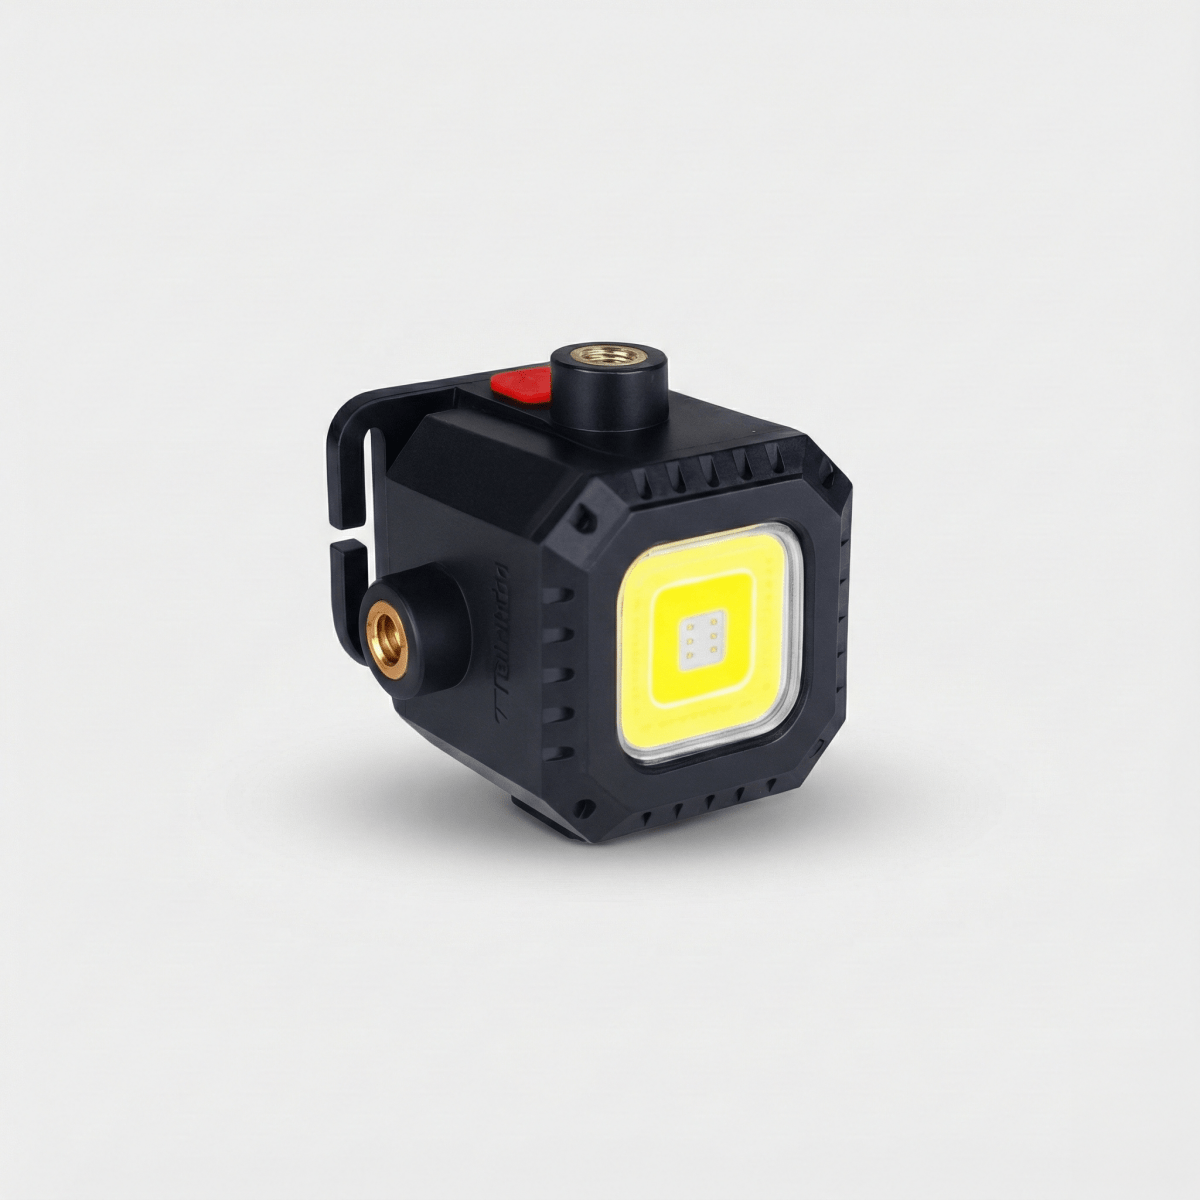
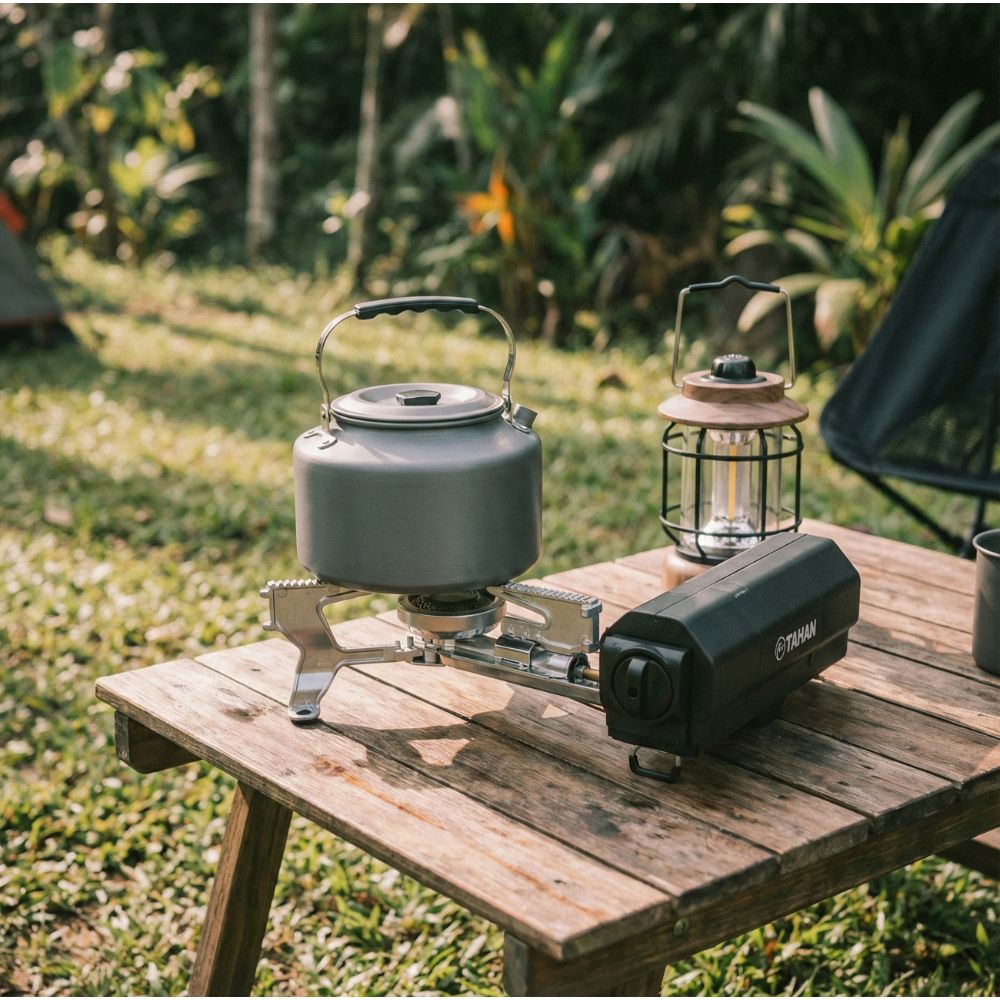
- Headlamp: Essential for early starts and overnight stays; if you're camping, a multifunction lantern like the TAHAN Luminate Multifunction Lantern pulls double duty at camp
- Overnight gear: Sleeping bag rated for cold temperatures, tent that handles wind and rain (Kem Kasut especially)
- Food: High-calorie snacks, proper meals if camping overnight — this hike burns a lot
- First aid: Blister care, muscle rub, basic kit
- Navigation: Download offline maps before you go; phone signal is unreliable in the forest
- Waste: Pack out everything — the litter situation at camps is a real problem
For more on what gear actually earns its weight on Malaysian mountain hikes, read our hiking gear guide.
FAQ
How hard is Gunung Yong Belar?
Hard to Very Hard — and that's consistent across sources. The challenge isn't just elevation gain (1,000–1,098 m). It's the cumulative grind of the undulating ridge, the rooted and boggy terrain, the false peaks that wear you down mentally, and the technical climbs and crawls. You need advanced fitness and endurance. If you've done Gunung Nuang comfortably and want to step it up significantly, Yong Belar is the next tier.
How long does the Yong Belar hike take?
For a dayhike: 10–14 hours total, with most hikers taking 5–6 hours up and 4–5 hours down. But the strict cut-off times (11:15 am at Kem Kasut, noon at summit) mean you need an early start — think 4–5 am from the trailhead. Most people wisely choose to do this as 2 days and 1 night, camping at Kem Tudung Periuk or Kem Kasut.
Do I need a permit for Gunung Yong Belar?
Yes, a permit is required and must be arranged in advance. Contact the Cameron Highlands District Forestry Office at +605 491 1384, or register via the Forestry Department of Malaysia's e-Permit system online. The mountain sits on the Perak-Kelantan border so there's some confusion about which department to contact — calling the number above is the safest bet to confirm current requirements and fees.
Do I need a guide for Gunung Yong Belar?
This is genuinely unclear — one source states a licensed guide is mandatory, others say it's recommended but not required. Don't assume either way. Check with the forestry office when you apply for your permit, and get the answer in writing if you can. Given the difficulty of the terrain and the stream crossing navigation, even if a guide isn't compulsory, having one is strongly worth considering for first-timers.
Camp Nearby?
Making a weekend of it? If you want to break the drive or wind down after the hike, there are a few good options in the broader Perak region. Seven Beret Campsite, Batu Kurau is a solid base if you're approaching from the north. The Hideout Gopeng is worth considering if you're coming via Ipoh — Gopeng is well-placed for a night before or after a mountain trip. And if you want something more laid-back to decompress after Yong Belar, WildRock Campsite Padang Rengas is a comfortable option to ease back into civilisation. All three are reviewed on the blog with the honest rundown.
Trail conditions, permit updates, and hiking buddies for the weekend — all in one WhatsApp group. Just ask; someone was probably up there last week.
💬 Join the Hiking CommunityFree, one click. No spam — the occasional promo at most.
Gear tip: How to use a trekking pole (and set the height).
Mike has been camping across Malaysia for over 10 years — from jungle treks in Taman Negara to beach camps in Perhentian. He writes about it so you don't have to find out the hard way. Follow along on TAHAN Outdoor's blog for honest campsite reviews, every week.